Android Cloudflare DNS
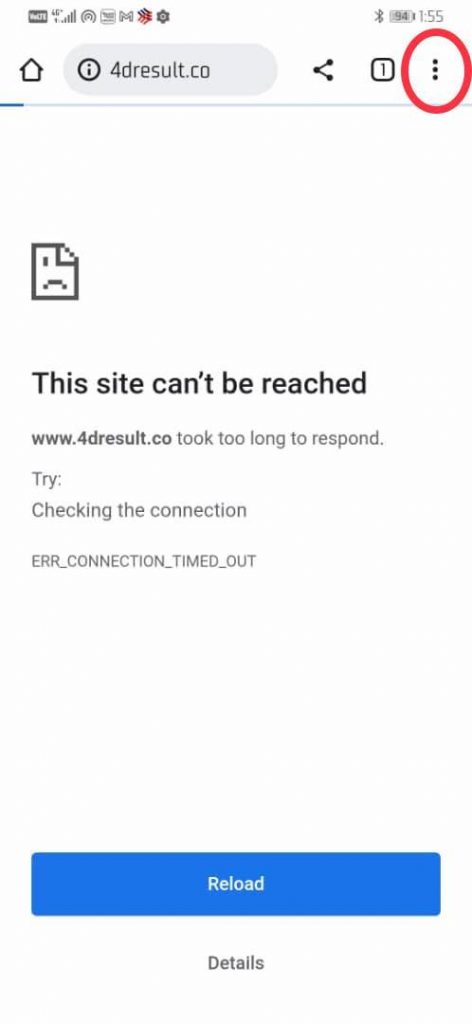
Step 1
Click the menu icon at the top right.
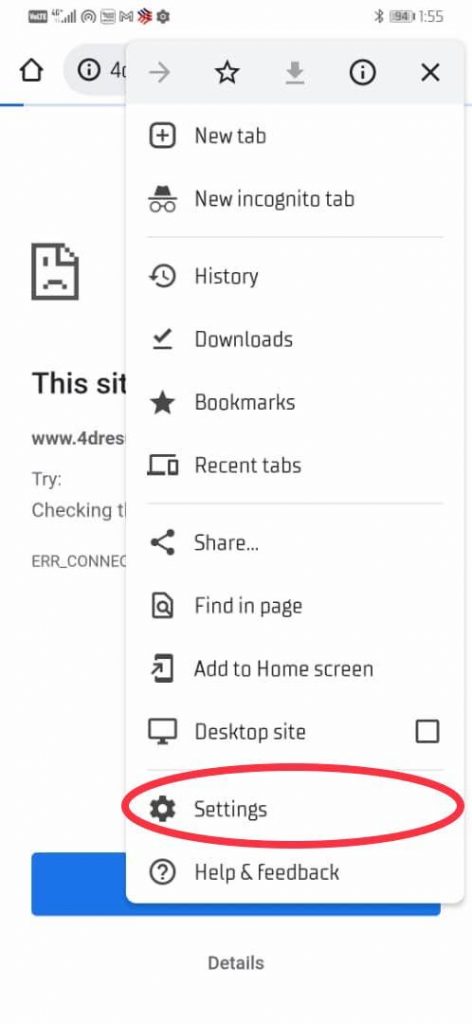
Step 2
Click “Settings”.
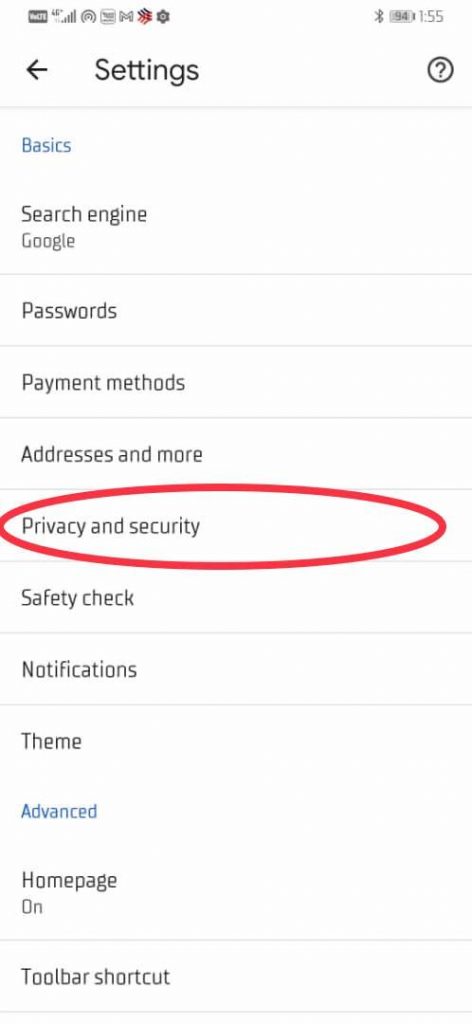
Step 3
Click “Privacy & security”.
Step 4
Click “Use secure DNS”.
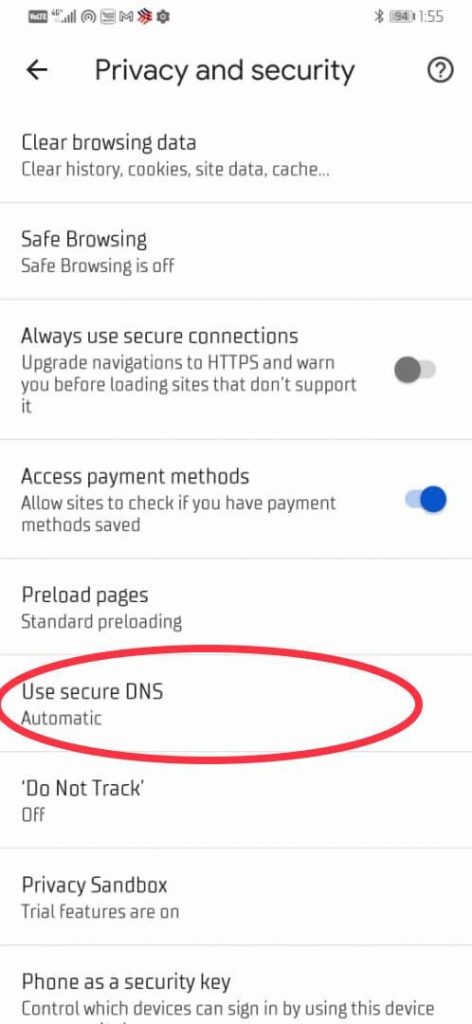
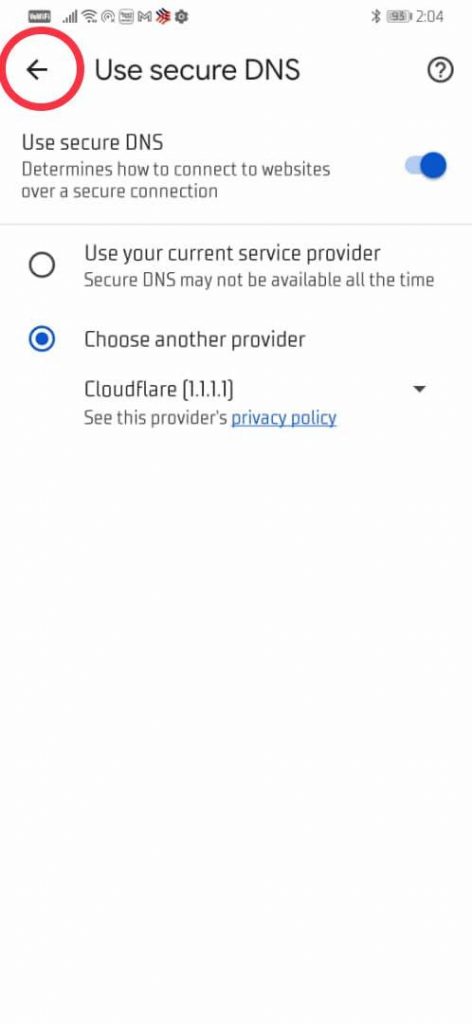
Step 5
Select “Choose another provide”.
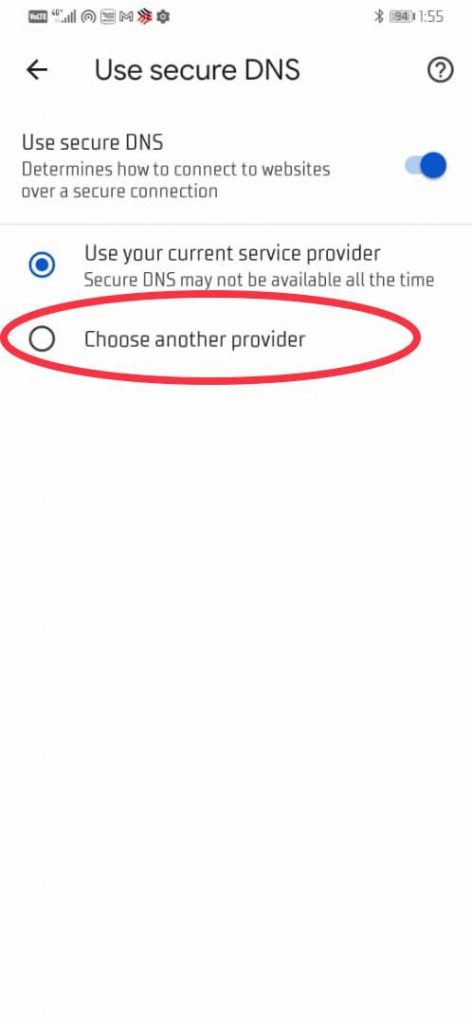
Step 6
Click on the dropdown icon and choose “Cloudflare (1.1.1.1)” or “Google (Public DNS)”.
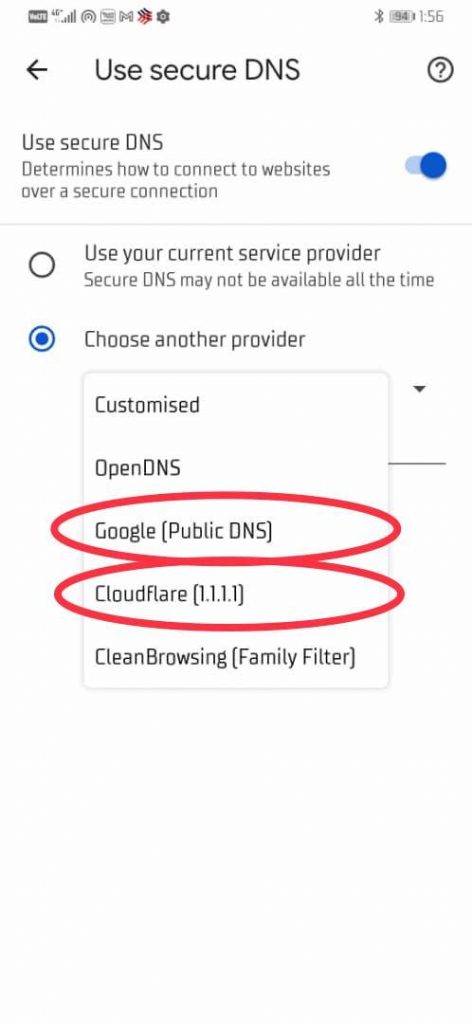
Step 7
You’re done now. Click on the back button and refresh the page.
Now that your browser will always use Cloudflare/Google DNS to browse our website.